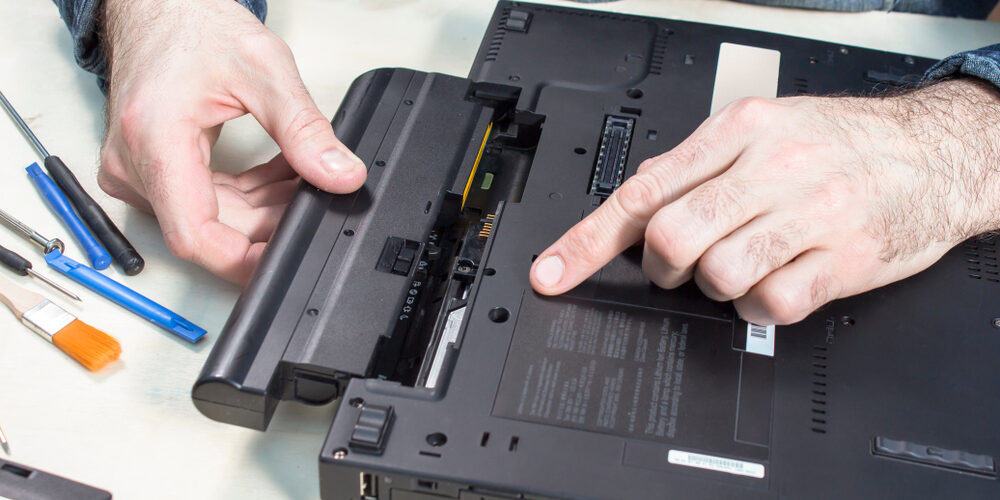
Sometimes, there can be a easier solution at hand than simply paying out for a brand new laptop. By learning how to replace HP laptop battery packs, you can enjoy a boost to the performance of your computer without the high price tag.
Why Should You Buy A Replacement HP Laptop Battery?
Many people don’t realise this, but in fact, the battery your computer comes with is not designed to last for the whole life of the machine. Instead, manufacturers purposfully allow batteries to swapped out by the customer or taken to a local IT company that offers repairs and maintenance services (simply search for “HP laptop battery replacement near me” to find such a business).
So, if you are finding that your laptop’s battery isn’t lasting for as long as it once did, the chances are that it’s time to fit a new one. You can carry out a battery report on your laptop to see how your old battery is performing, before you start. This function can be found by clicking on your Command prompt (in the bottom left of your laptop’s screen), typing in “powercgg/batteryreport” before clicking Enter. A battery report will then be saved to your Users folder, where you can access it to read through.
Step One: Order The Correct Battery
First of all, you will need to purchase a new battery, Battery Fast offers a range of HP batteries here. It’s essential that you choose a model that will work with your device. For example, if you need to replace HP Pavilion battery units, you must buy a new battery that is intended for use with this laptop range, so make a note of the old battery’s serial number. HP offers a free online “battery finder” tool that ensures you choose the correct battery unit for your needs.
Step Two: How To Remove HP Laptop Battery Packs
Before you start to remove the battery, it’s essential to turn off your laptop and unplug it from its charging cable, or you could risk giving yourself a dangerous electric shock. Once your computer is totally powered down, either use the clips or use a screwdriver to remove the back panel, along with any rubber feet that may be present.
Use the screwdriver to then detach the screws that hold the old battery in place, and carefully disconnect the cable. Now you can safely lift the old battery out and get ready to install the new one.
Step Three: Installing The New Battery
Installing the new battery is simply a case of reversing the previous actions: start by connecting the cable to the new unit, then screwing it in place. Re-attach the back panel and any rubber feet your model may have. When replacing any screws, be careful not to fasten too tightly, as this can cause damage.
Step Four: Finishing Off
Finally, turn your laptop on and let it charge for a few minutes, before running a new battery report to check that it’s performing at the optimum level. Older models may require you to fully charge the battery before use, however this trend is dying out, a rule of thumb that we have found, is models pre-2012 may require full cycles, whereas modern batteries are highly efficent and do not wear down as fast. A post-2012 battery should charge fully in 3-4 hours and not require you to self-manage your cycles.
Please get in touch for any questions you may have about HP laptop battery requirements!

